2019/11/01(金) [n年前の日記]
#2 [kivy][python] Kivyを少し勉強中
Pythonで使えるGUIライブラリは色々あるけど、Kivy なるライブラリが一時期盛り上がっていたようなので、少し勉強中。環境は Windows10 x64 1903 + Python 3.7.5 32bit + Kivy 1.11.1。
◎ インストール。 :
以下を参考にして作業。
_Installation on Windows(翻訳済み) - Kivy 1.10.0 ドキュメント
_Installation on Windows - Kivy 1.11.1 documentation
_Installation on Windows(翻訳済み) - Kivy 1.10.0 ドキュメント
_Installation on Windows - Kivy 1.11.1 documentation
python -m pip install --upgrade pip wheel setuptools
python -m pip install --upgrade docutils pygments pypiwin32 kivy-deps.sdl2 kivy-deps.glew
python -m pip install kivy-deps.gstreamer
python -m pip install kivy-deps.angle
python -m pip install Kivy
python -m pip install kivy-examples
◎ HwlloWorld。 :
以下を参考にして作業。
_Kivyの環境構築からHello Worldと表示するまで - Qiita
_Kivyを使ってアプリを作ろう(初歩の初歩から始めよう) - Qiita
ソースリスト内でWidgetの配置を決める書き方と、.kvファイルを用意してそちらにレイアウトやWidget種類を列挙する書き方があるらしい。
HogefugaAppクラスが使う .kv ファイルは、hogefuga.kv になる模様。
_Kivyの環境構築からHello Worldと表示するまで - Qiita
_Kivyを使ってアプリを作ろう(初歩の初歩から始めよう) - Qiita
ソースリスト内でWidgetの配置を決める書き方と、.kvファイルを用意してそちらにレイアウトやWidget種類を列挙する書き方があるらしい。
HogefugaAppクラスが使う .kv ファイルは、hogefuga.kv になる模様。
◎ 画像表示。 :
以下のページを参考にしながら動作確認。
_Python Kivyの使い方? 〜Kv Languageの基本〜 - Qiita
_Python KivyでOpencvやPillowで画像を表示する方法 - Qiita
_KivyでのImageの更新 - Qiita
_Kivyのtextureでの画像表示の注意点 - Qiita
_Kivyで簡単なグラフィックスを描画する - kitao's blog
_Python Kivyの使い方? 〜Kv Languageの基本〜 - Qiita
_Python KivyでOpencvやPillowで画像を表示する方法 - Qiita
_KivyでのImageの更新 - Qiita
_Kivyのtextureでの画像表示の注意点 - Qiita
_Kivyで簡単なグラフィックスを描画する - kitao's blog
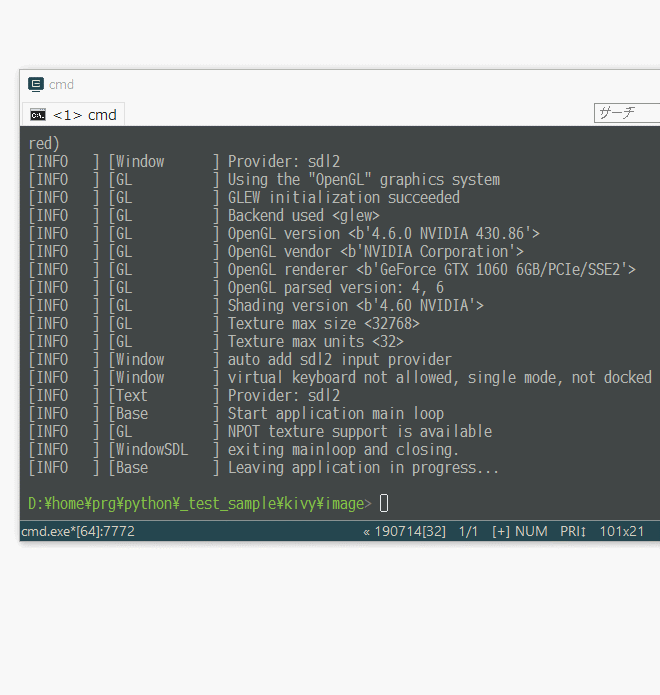
◎ ここまではできた。 :
ひとまず、ボタンをクリックすると画像が変わる、かつ、画像は Pillow で開いて Kivy の Texture に変換するところまでは動作確認ができた。せっかく Pillow で開いてることだし、途中でグレイスケールに変換してみる処理も入れてある。
_03_imageapp_use_texture.py
_imagechg2.kv
_sample1.png
_sample2.png
_sample3.png
_03_imageapp_use_texture.py
from PIL import Image
from kivy.app import App
from kivy.uix.widget import Widget
from kivy.properties import StringProperty, ObjectProperty
from kivy.graphics.texture import Texture
from kivy.config import Config
Config.set('graphics', 'width', '640')
Config.set('graphics', 'height', '640')


image_files = [
    "./sample1.png",
    "./sample2.png",
    "./sample3.png",
]


class ImagechgWidget(Widget):
    image_texture = ObjectProperty(None)
    text = StringProperty('')

    def __init__(self, **kwargs):
        super(ImagechgWidget, self).__init__(**kwargs)
        self.image_texture = Texture.create(size=(512, 512))

    def buttonClicked(self):
        self.loadimage(image_files[0])

    def buttonClicked2(self):
        self.loadimage(image_files[1])

    def buttonClicked3(self):
        self.loadimage(image_files[2])

    def loadimage(self, fn):
        self.text = fn
        self.image_texture = image_to_texture(fn)


class Imagechg2App(App):
    def __init__(self, **kwargs):
        super(Imagechg2App, self).__init__(**kwargs)
        self.title = 'Image change'

    def build(self):
        return ImagechgWidget()


def image_to_texture(filepath):
    """Convert Piloow Image to Kivy Texture."""
    img = Image.open(filepath, 'r')

    # convert grayscale for Pillow
    img = img.convert('L').convert('RGB')

    tex = Texture.create(size=img.size)
    tex.blit_buffer(img.tobytes())
    tex.flip_vertical()
    return tex


if __name__ == "__main__":
    Imagechg2App().run()
_imagechg2.kv
#:kivy 1.10.1
#
# add comment

ImagechgWidget:

<ImagechgWidget>:
    BoxLayout:
        size: root.size
        orientation: "vertical"

        Image:
            id: image1
            size_hint_y: 0.9
            texture: root.image_texture

            canvas.before:
                Color:
                    rgba: 0, 0, 0, 1
                Rectangle:
                    pos: self.pos
                    size: self.size

        Label:
            id: label_pathname
            text: root.text
            font_size: 16
            size_hint_y: 0.05
            color: 0.8, 0.8, 0.8, 1

            canvas.before:
                Color:
                    rgba: 0.2, 0.2, 0.2, 1
                Rectangle:
                    pos: self.pos
                    size: self.size

        BoxLayout:
            size_hint_y: 0.05

            Button:
                id: button1
                text: "Image 1"
                on_press: root.buttonClicked()

            Button:
                id: button2
                text: "Image 2"
                on_press: root.buttonClicked2()

            Button:
                id: button3
                text: "Image 3"
                on_press: root.buttonClicked3()
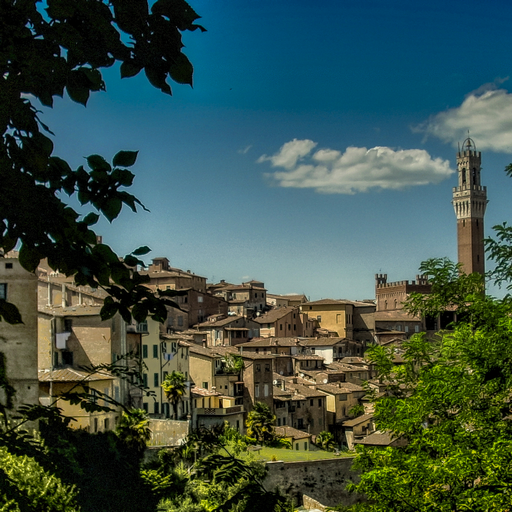
_sample1.png
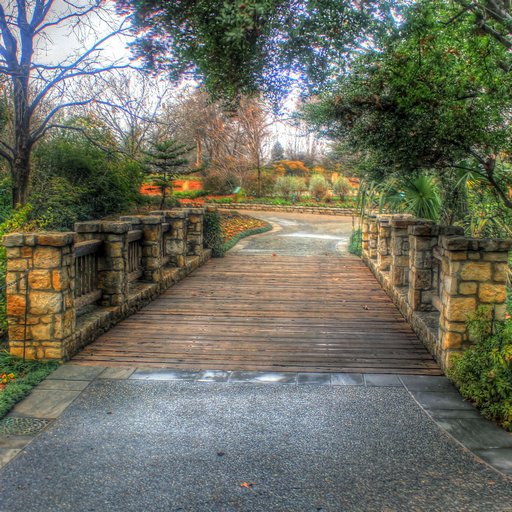
_sample2.png
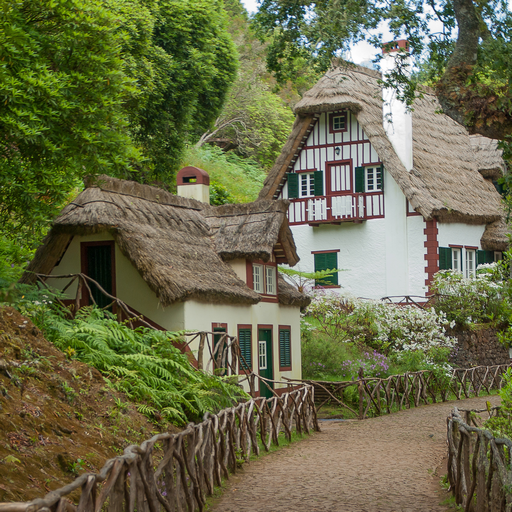
_sample3.png
◎ 課題。 :
上記の例は Kivy の texture で画像表示しているけれど。texture ではなく、canvas に何かしらを描いて、それを表示したり、画像ファイルとして保存したり、ということをやってみたいわけで。
しかし、canvas の内容を書き換える感じの処理では、ウインドウ全体に対して描画が行われてしまうようで、位置合わせが面倒だったり、配置したボタン等が、上書きで消されてしまったりする。
さて、どうしたもんだろう…。
Pillow で描いておいてから Kivy の texture にするのはどうか。Pillow も、ImageDraw を使えば図形描画ができるようだし。
_ImageDraw Module - Pillow (PIL Fork) 2.6.1 documentation
アンチエイリアスをかけた状態で描けないのがアレだけど…。
aggdraw を使えばより高度な描画ができる、と書いてあることに気づいた。
_The aggdraw Module
[ ツッコむ ]
以上です。