2016/01/12(火) [n年前の日記]
#1 [dxruby][dxrubyws] DXRubyWSのチュートリアル文書に従って試してみる。その2
_DXRubyWS
の、
_doc/tutorial02.txt
を写経して動作確認してみる。
◎ 最も簡単なコード。 :
_tuto21.rb
標準GUIを使う時は、
WS::WSWindow.new() でウインドウを作って、WS.desktop.add_control() で画面に登録しているのかな。たぶん。
require_relative './lib/dxrubyws'
require_relative './lib/standardgui'

WS.desktop.add_control(WS::WSWindow.new(100,100,300,200,"TutorialWindow"))

Window.loop do
  WS.update
end
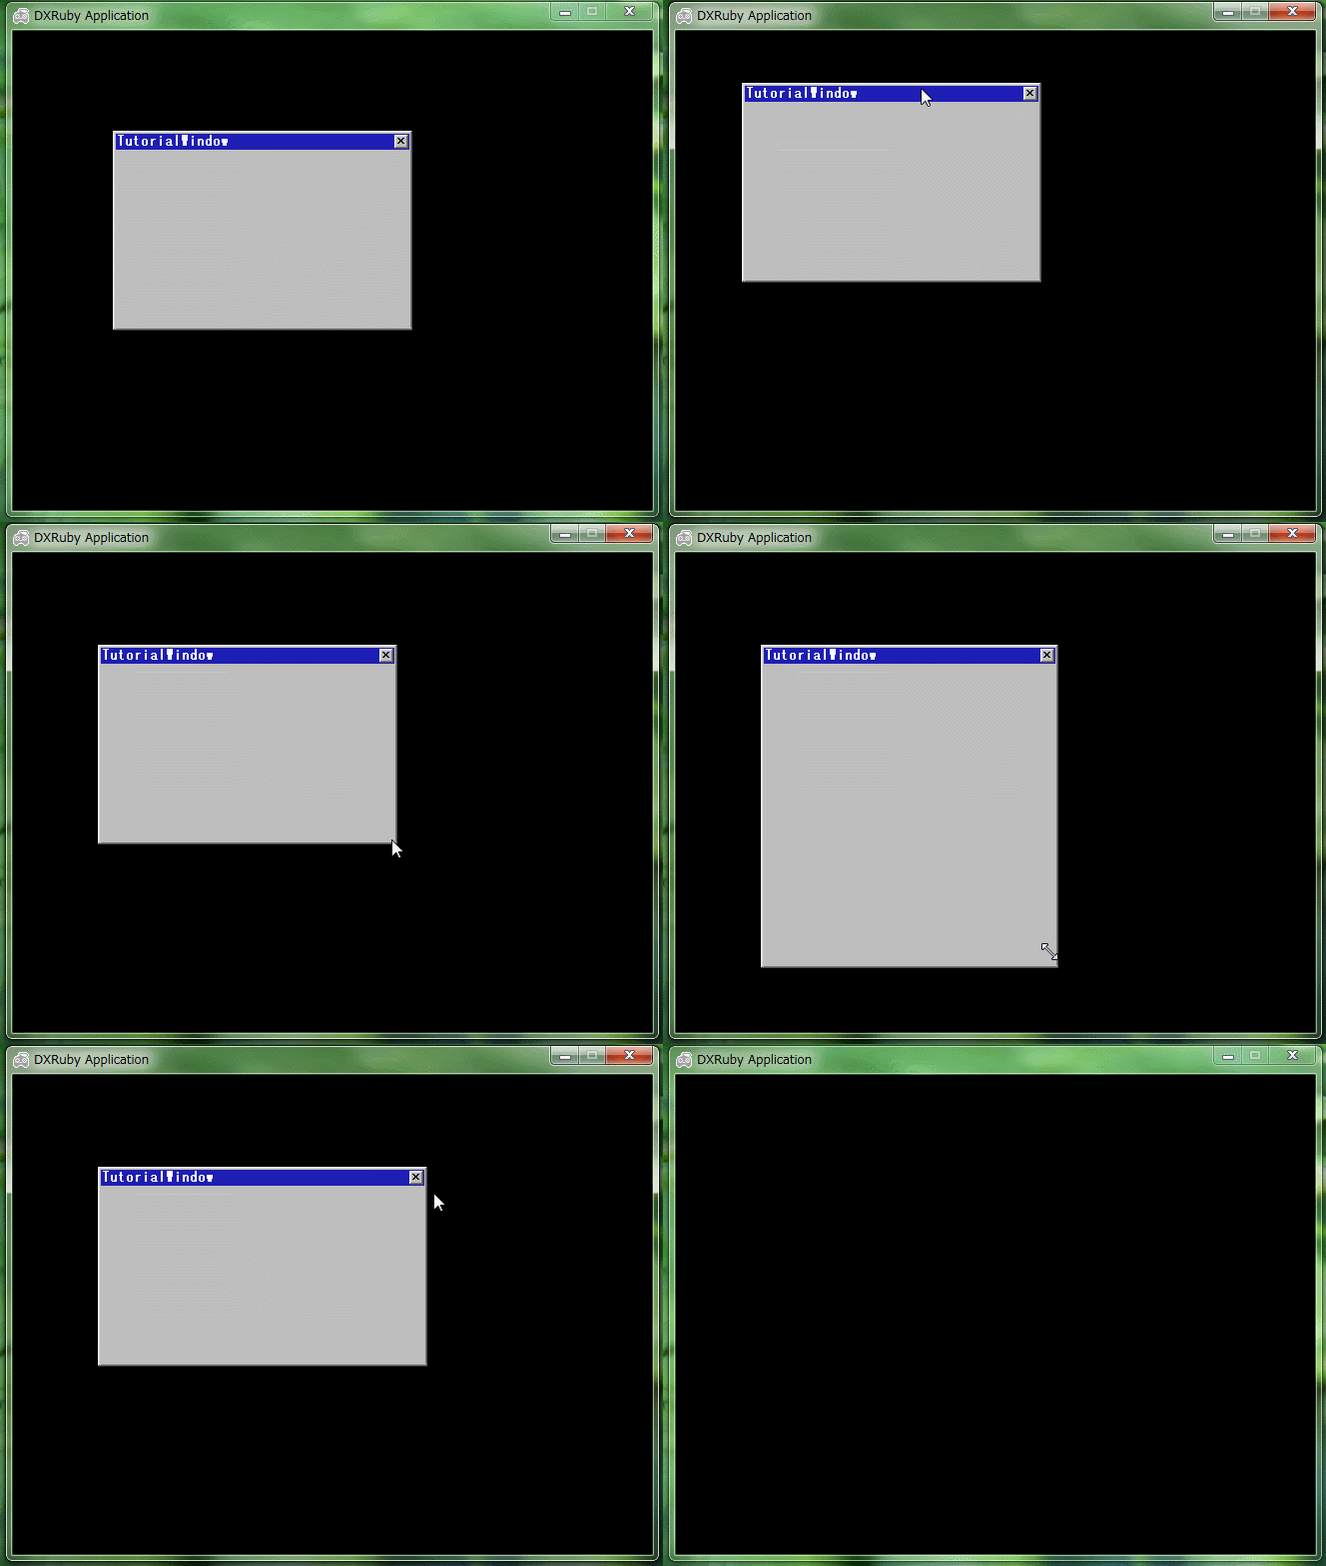
ウインドウが表示された。マウスでドラッグ移動、サイズ変更ができるし、閉じるボタンを押せばウインドウを閉じることもできる。
標準GUIを使う時は、
require_relative './lib/standardgui'を、最初のほうに書いておくものらしい。
WS::WSWindow.new() でウインドウを作って、WS.desktop.add_control() で画面に登録しているのかな。たぶん。
◎ ボタンを配置して、ボタンを押したら反応させる。 :
まずは、ボタンを配置。
_tuto22.rb
tutorial02.txt には…。
ボタンに反応させてみる。
_tuto23.rb
ボタンがクリックされたら ―― :click シグナルが来たら、処理がされるように設定されてる。
_tuto22.rb
require_relative './lib/dxrubyws'
require_relative './lib/standardgui'

# ウインドウを生成
window = WS::WSWindow.new(100,100,300,200,"TutorialWindow")

# 画面に登録
WS.desktop.add_control(window)

# ボタンを生成
button = WS::WSButton.new(10,10,100,20,"TutorialButton")

# ウインドウ(のクライアント領域)に登録
window.client.add_control(button)

Window.loop do
  WS.update
end
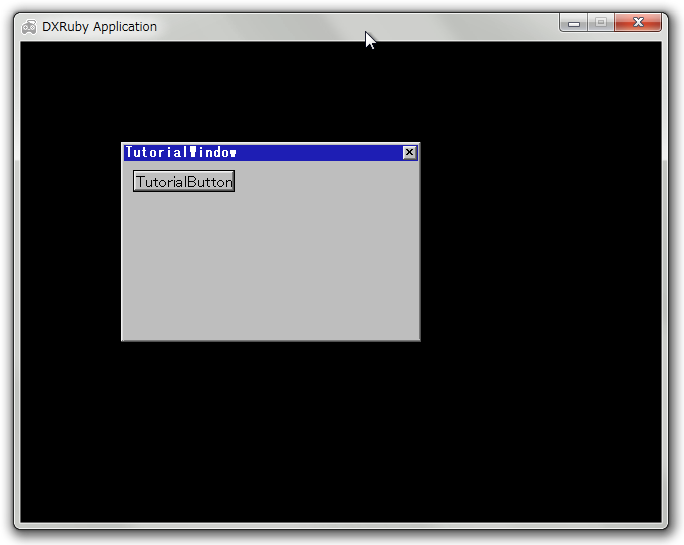
ボタンを表示することができた。
tutorial02.txt には…。
- WSWindowオブジェクトはコンテナの集合体。タイトルバーとクライアント領域に分かれてる。
- ユーザがコントロールを配置するのはクライアント領域のほう。
- クライアント領域は、WSWindow#clientでアクセスすることができる。
ボタンに反応させてみる。
_tuto23.rb
require_relative './lib/dxrubyws'
require_relative './lib/standardgui'

window = WS::WSWindow.new(100,100,300,200,"TutorialWindow")
WS.desktop.add_control(window)

button = WS::WSButton.new(10,10,100,20,"TutorialButton")
window.client.add_control(button)

# ボタンをクリックしたときに呼ばれる処理を登録
button.add_handler(:click) do
  # ボタンの表示位置を、右下に10ドット変更する
  button.x += 10
  button.y += 10
end

Window.loop do
  WS.update
end
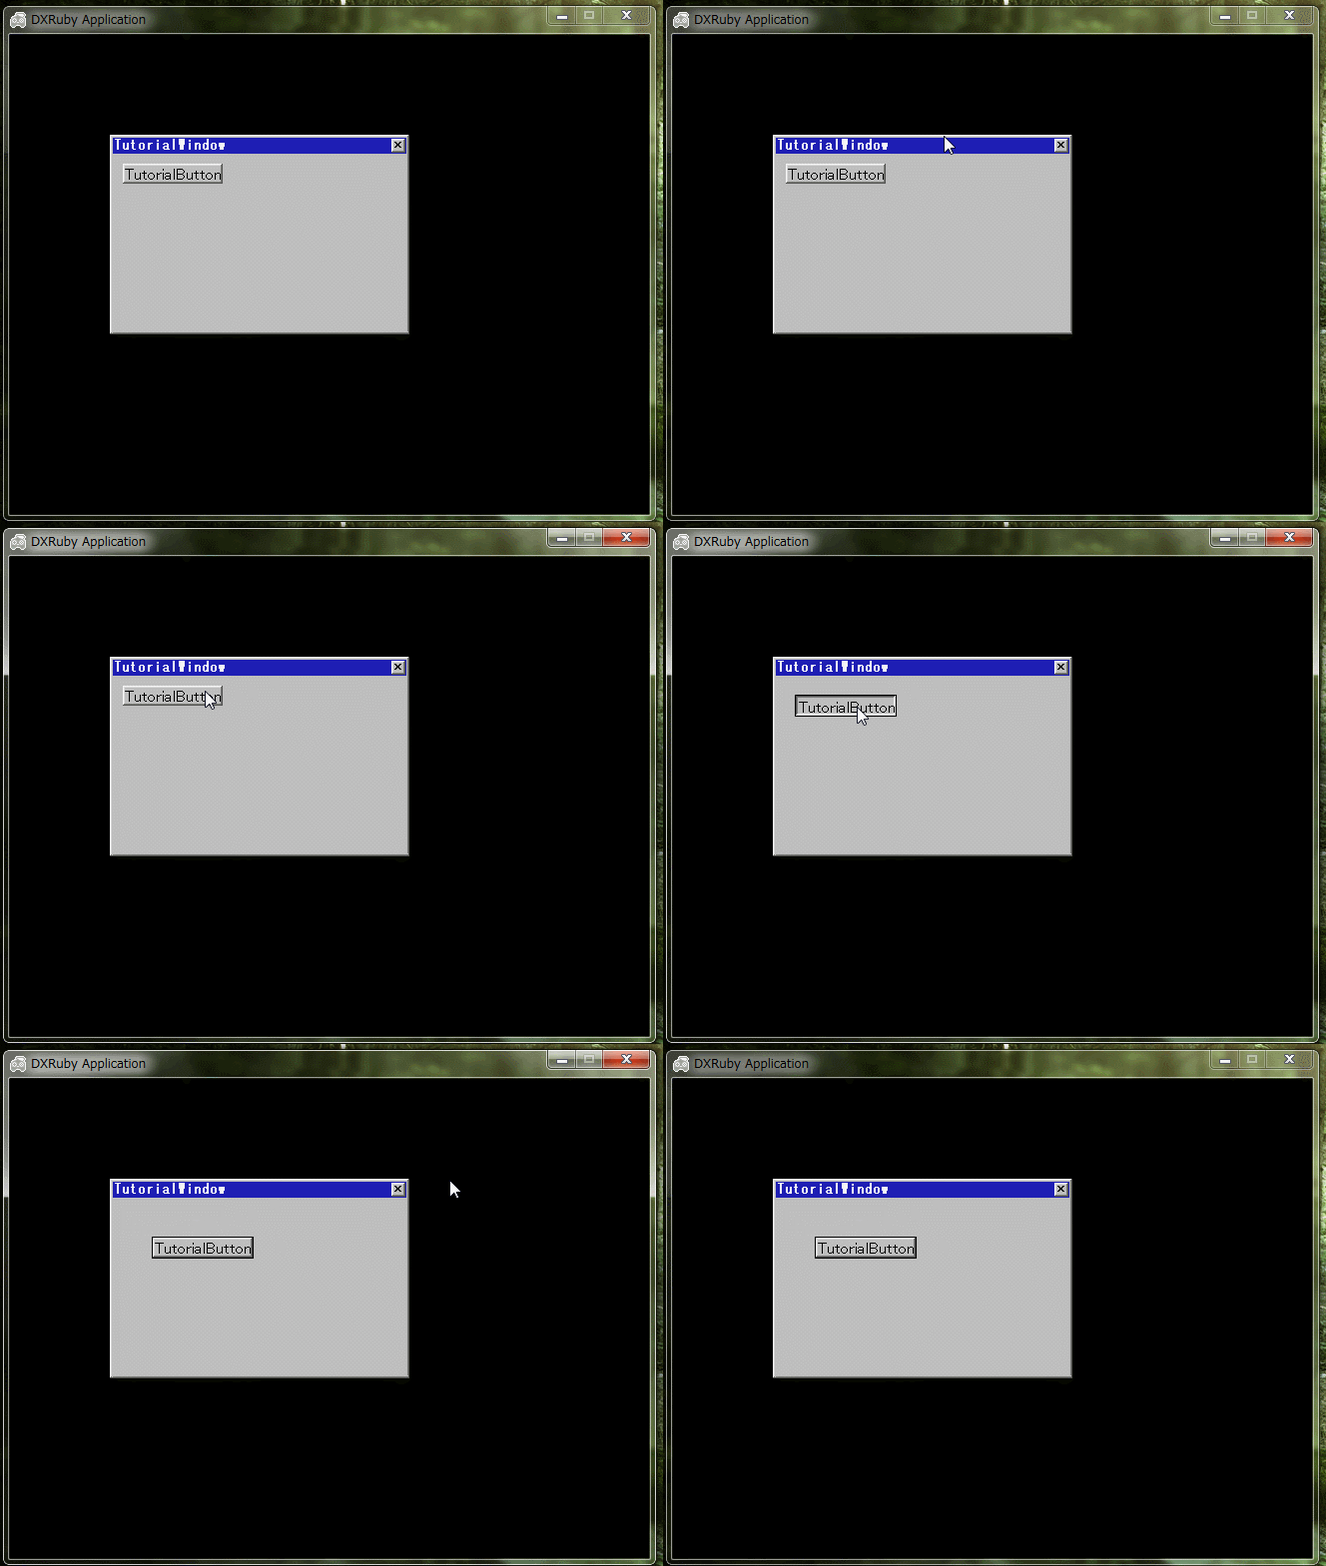
ボタンを押すと、ボタンの表示位置が変わっていく。たしかに、ボタンが反応してる。
ボタンがクリックされたら ―― :click シグナルが来たら、処理がされるように設定されてる。
◎ TutorialWindowクラスを作ってみる。 :
_tuto24.rb
これで、 _tutorial02.txt の内容を一通り試せた。
require_relative './lib/dxrubyws'
require_relative './lib/standardgui'

module WS
  class TutorialWindow < WSWindow
    def initialize(*args)
      super
      button = WS::WSButton.new(10,10,100,20,"TutorialButton")
      client.add_control(button, :btn)
      button.add_handler(:click, self.method(:on_click))
    end

    def on_click(obj, tx, ty)
      client.btn.x += 10
      client.btn.y += 10
    end
  end
end

window = WS::TutorialWindow.new(100,100,300,200,"TutorialWindow")
WS.desktop.add_control(window)

Window.loop do
  WS.update
end
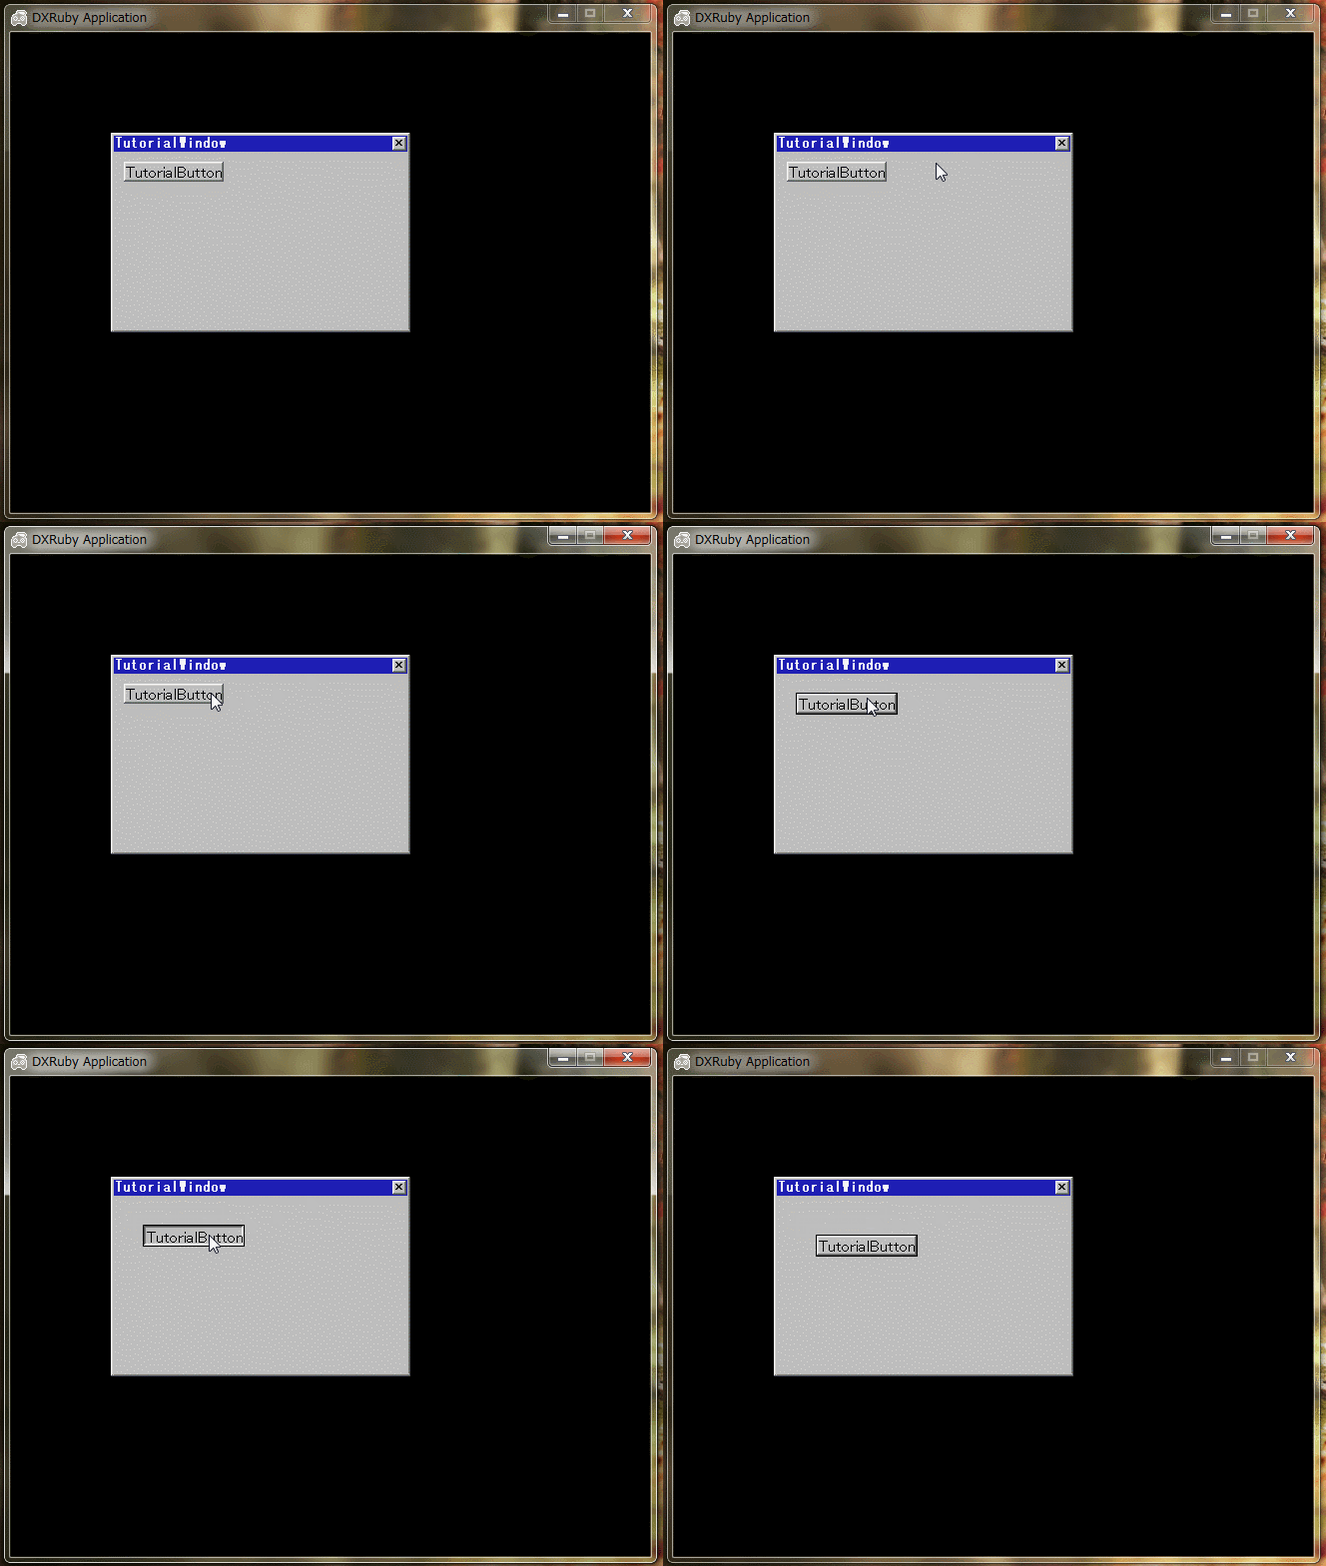
tuto23.rb と同じことを、クラスを作ることで実現できた。これで、 _tutorial02.txt の内容を一通り試せた。
[ ツッコむ ]
以上です。


